How to Make Wood Storage Cubes in Any Size
If you’re looking for a stylish, budget-friendly, and customizable storage solution, wood storage cubes are the perfect answer. Whether you’re organizing your closet, office, kid’s room, or garage, building wooden storage cubes in any size allows you to create exactly what you need.
Why DIY Wood Storage Wood Storage Cubes ?
DIY storage cubes offer a lot more than store-bought versions:
- Custom sizes to fit your exact space
- Cost-effective—save money on furniture
- Creative control—paint, stain, or decorate to match your decor
- Durability with real wood construction
- Stackable and modular for flexible storage
Tools and Materials Needed Wood Storage Cubes
Before you begin building your wooden storage cubes, gather these essential items:
Materials:
- ¾-inch plywood or MDF board
- Wood screws or nails
- Wood glue
- Sandpaper (120–220 grit)
- Wood filler (optional)
- Paint, wood stain, or sealer (optional)
Tools:
- Circular saw or table saw
- Power drill
- Measuring tape
- Speed square or ruler
- Clamps
- Sander (optional)
Step-by-Step Instructions
Step 1: Plan and Measure Your Cube
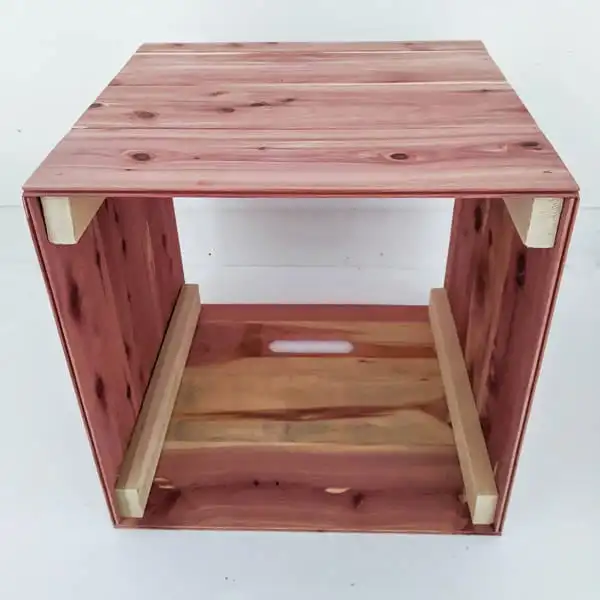
Choose the exact dimensions based on your space. A common cube size is 12″x12″x12″, but you can go larger or smaller depending on the need. Don’t forget to account for wood thickness (usually ¾”).
Example for a 12-inch cube using ¾” plywood:
- 2 Side Panels: 12″ H x 10.5″ D
- Top and Bottom Panels: 12″ W x 12″ D
- Back Panel: 10.5″ H x 10.5″ W
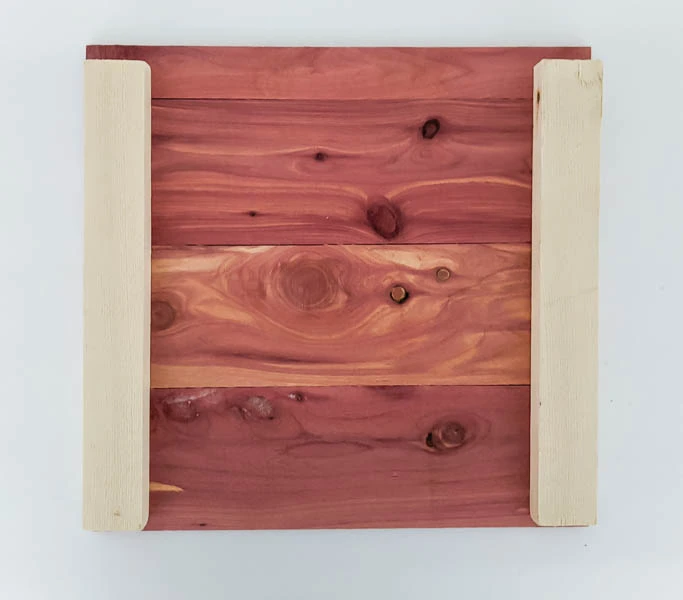
Step 2: Cut Your Wood
Using a circular saw or table saw, cut each panel precisely. Double-check your measurements before making final cuts to ensure everything fits perfectly.
Step 3: Sand and Prep the Panels
Use sandpaper to smooth all edges and surfaces. Remove any splinters and dust. For a professional finish, apply wood filler to knots or imperfections.
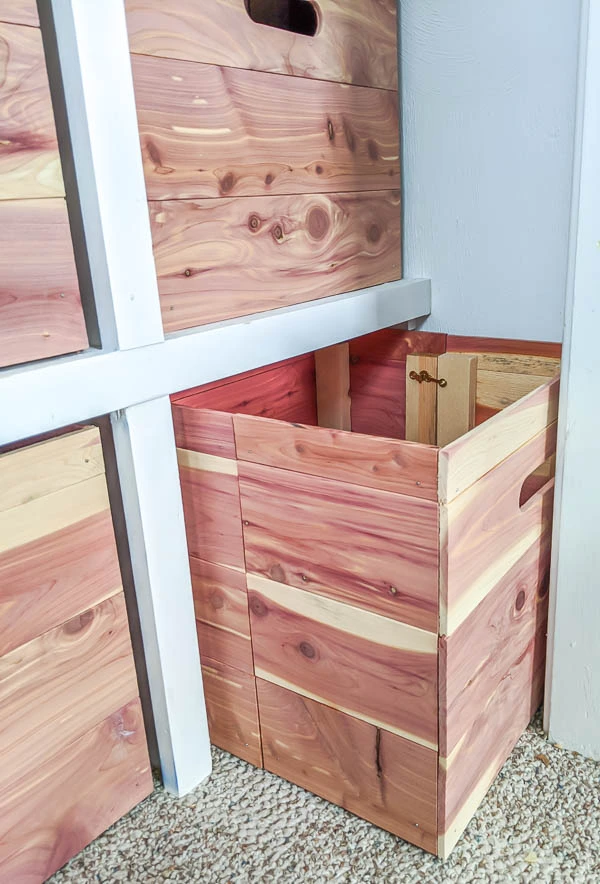
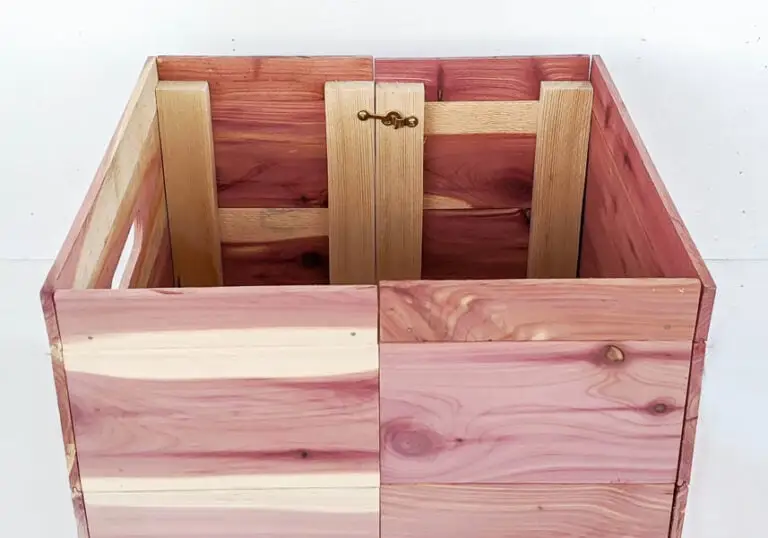
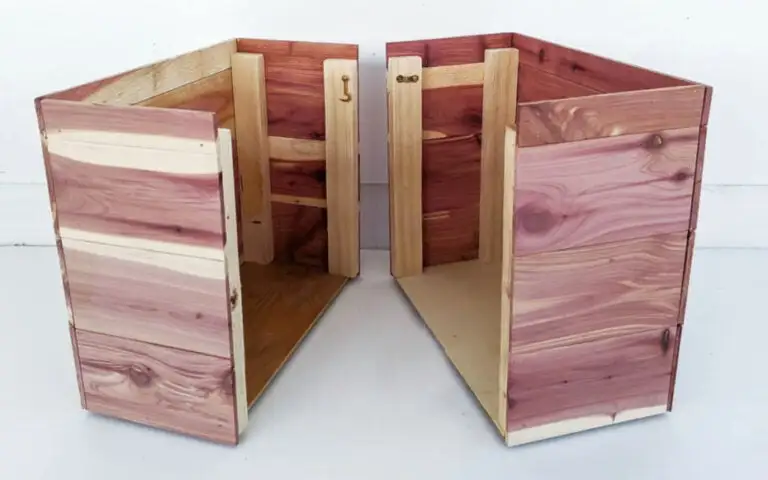
Step 4: Assemble the Cube
- Apply wood glue to the edges where the panels will join.
- Clamp pieces together to hold them in place.
- Drill pilot holes and screw the panels together—sides first, then the top and bottom, and finally the back panel.
- Wipe off any excess glue and allow the structure to dry.
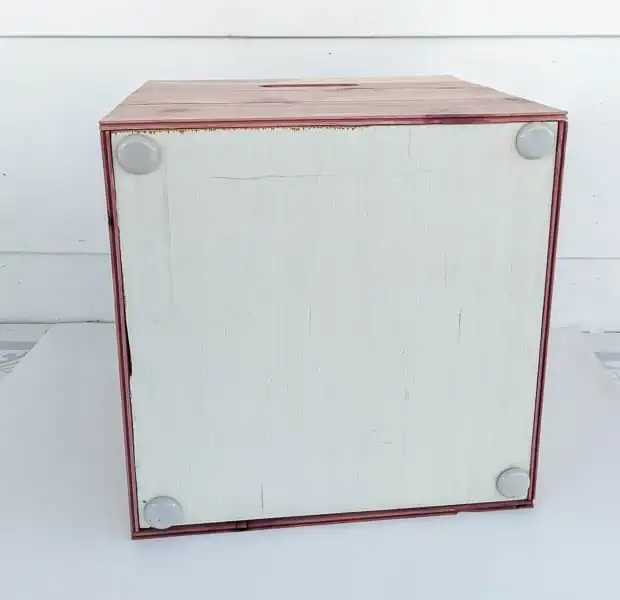
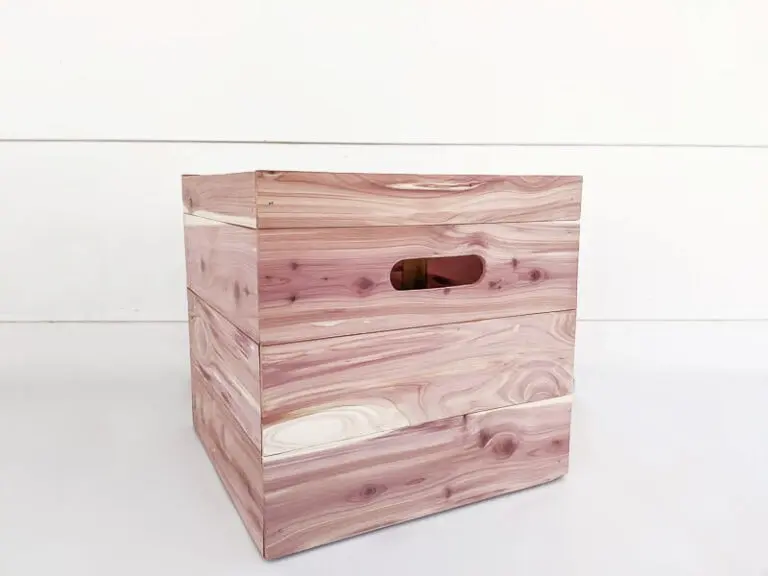
Step 5: Finish Your Storage Cube
Once assembled:
- Fill gaps with wood filler
- Sand the entire cube until smooth
- Paint, stain, or seal to your liking
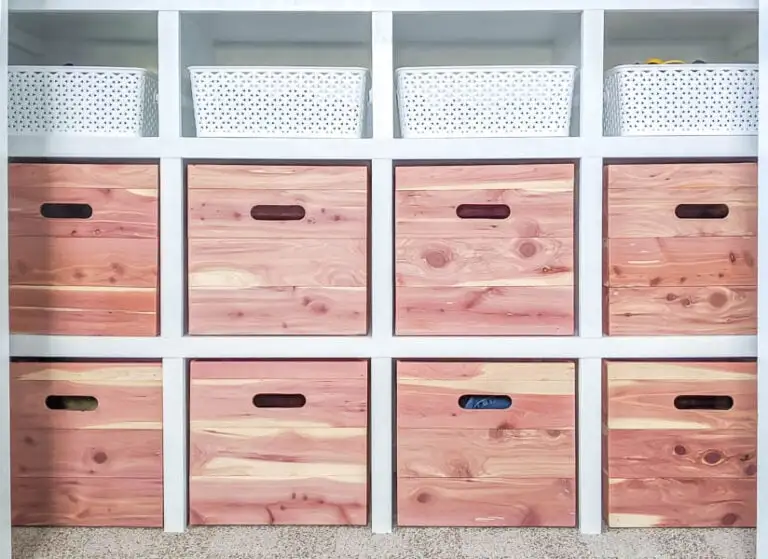
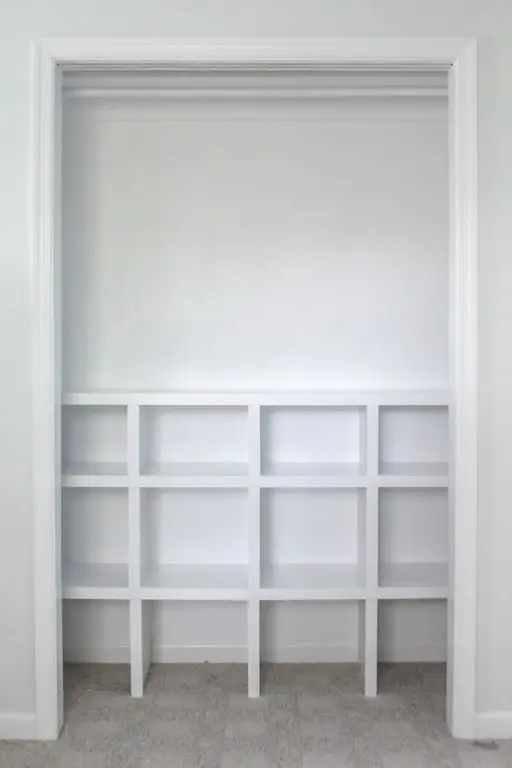
Creative Customization Ideas
Make your cubes even more useful and decorative with these ideas:
- Add caster wheels for mobility
- Insert fabric bins or baskets
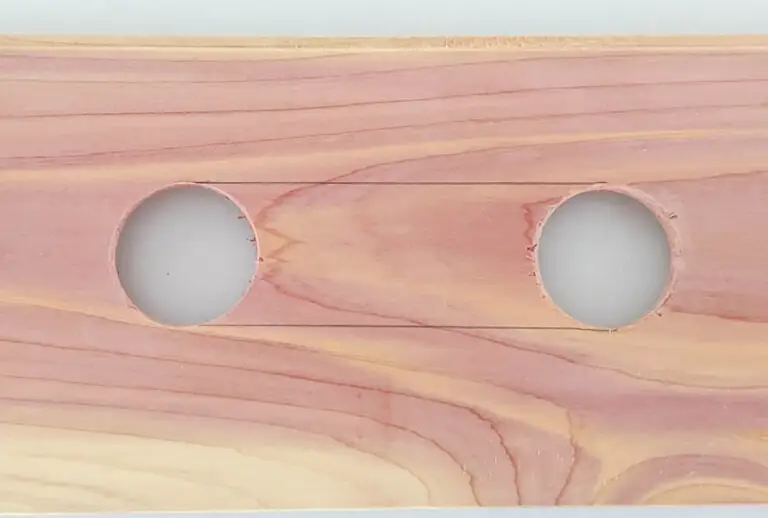
- Install handles or labels for organization
- Stack cubes vertically or horizontally
- Add a cushion on top for seating + storage combo

FAQs About DIY Wood Storage Cubes
What wood is best for storage cubes?
- ¾-inch plywood or MDF is recommended for strength and ease of cutting.
- Can I build large cubes?
- Yes! Just reinforce corners and backs if going over 18 inches in width or height.
- How do I connect multiple cubes?
- Use wood screws or brackets on the back or bottom. Always ensure alignment and level before stacking or attaching.
Final Thoughts
Making wood storage cubes in any size is a simple, satisfying DIY project that enhances both function and design in your home. With just a few tools and materials, you can build custom storage solutions that suit any space.