
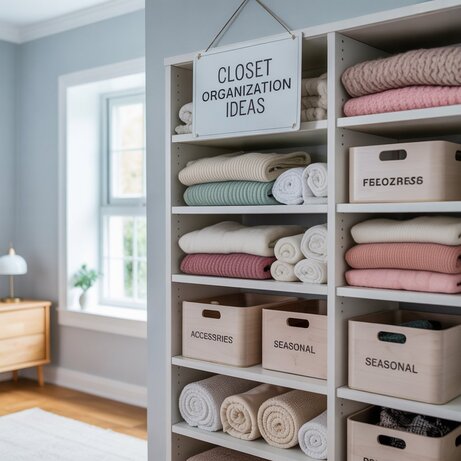
DIY Closet Shelves: A Step-by-Step Guide to Maximize Your Space
Creating DIY closet shelves is an excellent way to optimize storage, enhance organization, and add a personal touch to your home. Whether you’re working with a small reach-in closet or a spacious walk-in, custom shelving can transform cluttered spaces into functional, stylish areas. This comprehensive guide covers everything you need to know about building your own closet shelves, including materials, tools, step-by-step instructions, and tips for SEO-friendly content to ensure your project stands out online.
Why Build DIY Closet Shelves?
Custom closet shelves offer several benefits:
- Maximize Space: Tailor shelves to fit your closet’s dimensions, utilizing every inch effectively.
- Cost-Effective: Save money compared to pre-made or professionally installed systems.
- Personalization: Design shelves to suit your storage needs, from shoes to sweaters.
- Increased Home Value: Well-organized closets appeal to potential homebuyers.
Whether you’re a seasoned DIYer or a beginner, this project is achievable with basic tools and materials.
Materials and Tools Needed for DIY Closet Shelves
Before starting, gather the following:
Materials
- Plywood or MDF: ¾-inch thick for durability; pre-cut boards simplify the process.
- Shelf Brackets: L-shaped or track systems for support.
- Wood Screws: 1.5–2 inches for securing brackets and shelves.
- Wall Anchors: For drywall installations to ensure stability.
- Paint or Stain: To match your closet’s aesthetic.
- Sandpaper: 120–220 grit for smooth edges.
- Leveling Shims: For uneven walls or floors.
- Edge Banding (optional): For a polished look on plywood edges.
Tools
- Stud Finder: To locate wall studs for secure mounting.
- Level: To ensure shelves are even.
- Tape Measure: For precise measurements.
- Circular Saw or Jigsaw: For cutting boards to size.
- Drill: For screwing brackets and shelves in place.
- Screwdriver: For manual adjustments.
- Paintbrush or Roller: For applying paint or stain.
Step-by-Step Guide to Building DIY Closet Shelves
Follow these steps to create functional and attractive closet shelves:
- Plan Your Design
- Measure Your Space: Record the closet’s width, depth, and height. Account for doors, baseboards, or obstructions.
- Sketch a Layout: Decide on shelf height, spacing, and number. For example, allow 12–16 inches between shelves for folded clothes or 6–8 inches for shoes.
- Consider Storage Needs: Include sections for bins, baskets, or hanging rods if needed.
Choose Materials
- Select plywood or MDF based on budget and aesthetics. Plywood is stronger, while MDF is smoother and easier to paint.
- Opt for pre-finished boards to save time or customize with paint/stain for a unique look.
Cut Shelves to Size
- Measure and mark your boards according to your layout.
- Use a circular saw or jigsaw for straight cuts. Clamp a straightedge to guide the saw for precision.
- Sand edges to remove splinters and apply edge banding for a professional finish.
Locate Studs and Install Brackets
- Use a stud finder to locate wall studs for secure bracket installation.
- Mark stud locations with a pencil.
- Attach L-brackets or track systems to the wall using wood screws and wall anchors for non-stud areas.
- Ensure brackets are level using a level tool.
Install Shelves
- Place cut boards onto brackets and secure with wood screws from underneath.
- Check alignment with a level and adjust with shims if necessary.
- Double-check stability by applying gentle pressure.
Finish and Customize
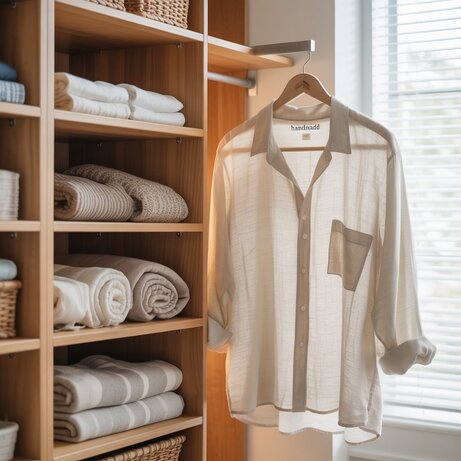
- Paint or stain shelves to match your decor. Apply a primer for MDF to prevent warping.
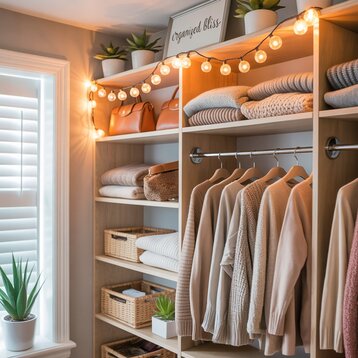
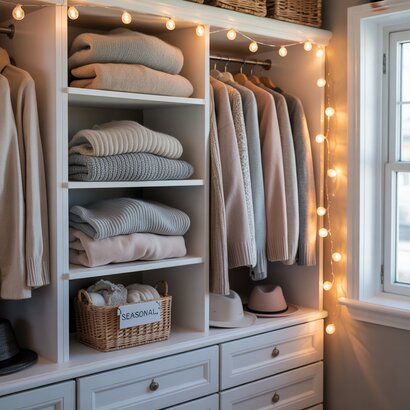
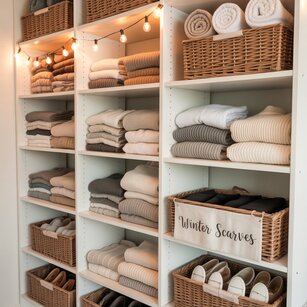
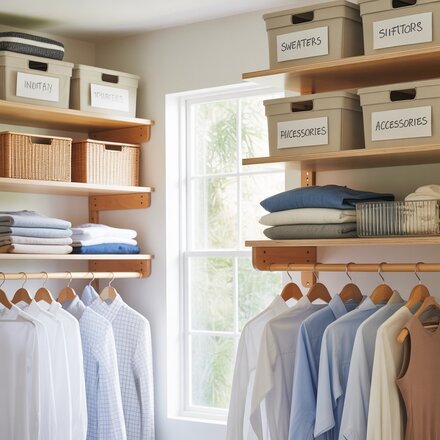
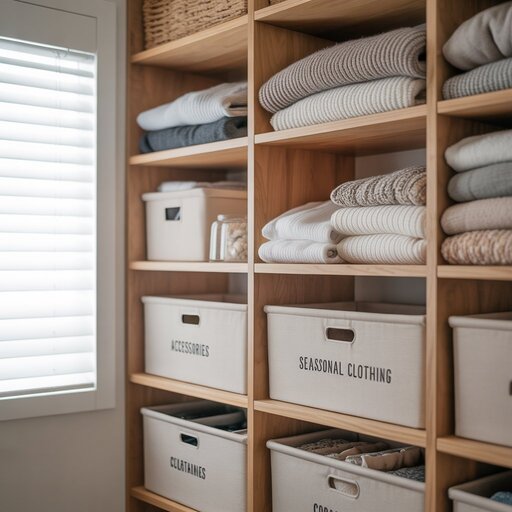
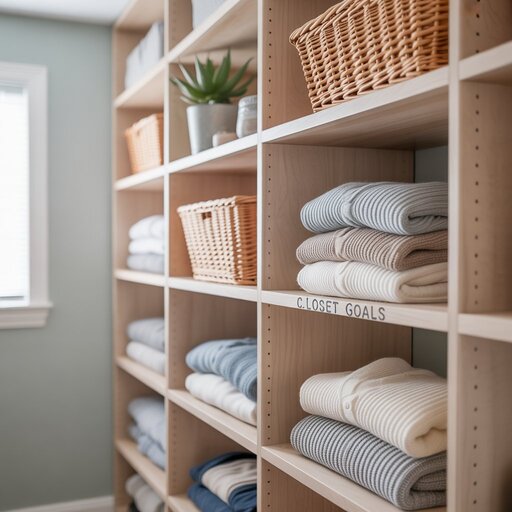
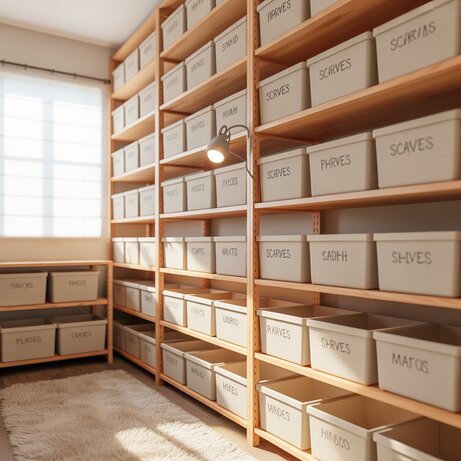
- Add organizational accessories like bins, dividers, or hooks for extra functionality.
Tips for a Professional Finish DIY Closet Shelves
- Sand Thoroughly: Smooth surfaces prevent snags on clothing.
- Use a Primer: Especially for MDF to ensure even paint application.
- Test Fit: Dry-fit shelves before securing to confirm measurements.
- Add Lighting: Install LED strip lights for better visibility in deep closets.
Common Mistakes to Avoid
- Skipping Studs: Always anchor brackets into studs for heavy loads.
- Ignoring Weight Limits: Overloading shelves can cause sagging. Use thicker boards or closer bracket spacing for heavier items.
- Uneven Shelves: Always use a level to avoid slanted surfaces.
- Poor Ventilation: Ensure airflow to prevent musty odors, especially in small closets.
Cost Estimate for DIY Closet Shelves
- Plywood/MDF: $20–$50 per sheet.
- Brackets: $5–$15 each (4–8 needed).
- Screws/Wall Anchors: $5–$10.
- Paint/Stain: $10–$20.
- Total: $50–$150, depending on closet size and material quality.
Conclusion
Building DIY closet shelves is a rewarding project that enhances your home’s functionality and aesthetic. With careful planning, quality materials, and basic tools, you can create a custom storage solution tailored to your needs. Follow this guide, avoid common pitfalls, and optimize your content for SEO to share your project with the world. Ready to get started? Grab your tools and transform your closet today!