How to Paint a Bathroom Vanity: A Complete DIY Guide for a Stylish Makeover
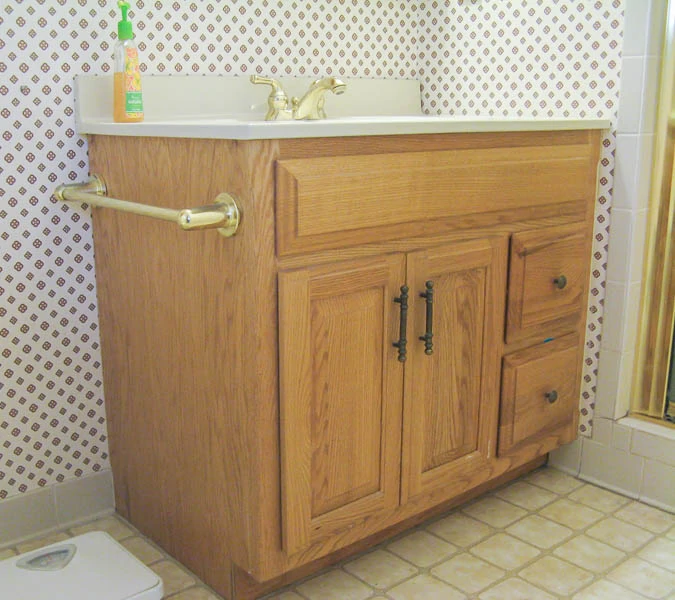
Painting a bathroom vanity is one of the easiest and most affordable ways to upgrade your bathroom. Whether your vanity is outdated or simply worn out, a fresh coat of paint can give it a brand-new look without the need for a full renovation.
Why Paint a Bathroom Vanity?
Upgrading your bathroom vanity with paint offers numerous benefits:
- Cost-effective: Much cheaper than replacing the entire unit.
- Customizable: Choose any color to match your décor.
- Quick Transformation: Update your bathroom in a single weekend.
- Increased Home Value: Fresh finishes appeal to buyers and renters.
Supplies You’ll Need and Paint a Bathroom Vanity
Before you begin painting your vanity, gather the following tools and materials:
- Screwdriver (for removing hardware)
- TSP cleaner or degreaser
- Sandpaper (120 and 220 grit)
- Painter’s tape
- Drop cloth or plastic sheeting
- Bonding primer (moisture-resistant)
- High-quality paint (latex, acrylic, or enamel)
- Foam roller and paintbrush
- Water-based polyurethane topcoat (optional)
Step-by-Step: How to Paint a Bathroom Vanity
Remove Doors and Hardware
Start by removing all drawers, doors, and hardware (hinges, knobs, etc.). Label them for easy reinstallation.
Clean Thoroughly
Use a TSP cleaner or a strong degreaser to clean the entire vanity. This removes residue, oils, and soap buildup that can prevent paint from sticking.
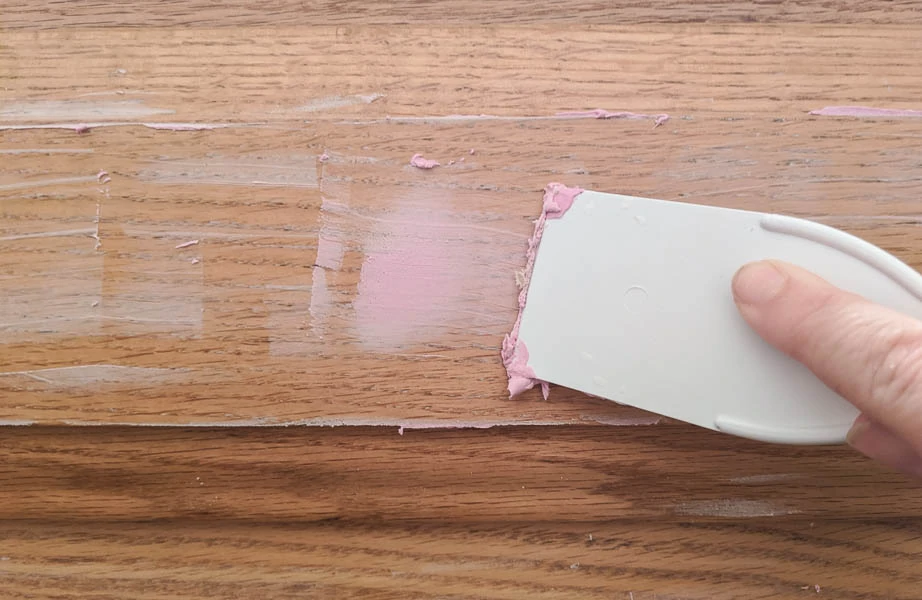
Sand the Surface
Sand the vanity surfaces using 120-grit sandpaper to dull any gloss and then 220-grit for a smooth finish. Wipe clean with a damp cloth.
Tape Off Surrounding Areas
Use painter’s tape to protect walls, floors, and counters around the vanity.
Apply a Bonding Primer
A bonding primer is essential for bathroom environments where humidity is high. Apply one thin, even coat and allow it to dry fully.
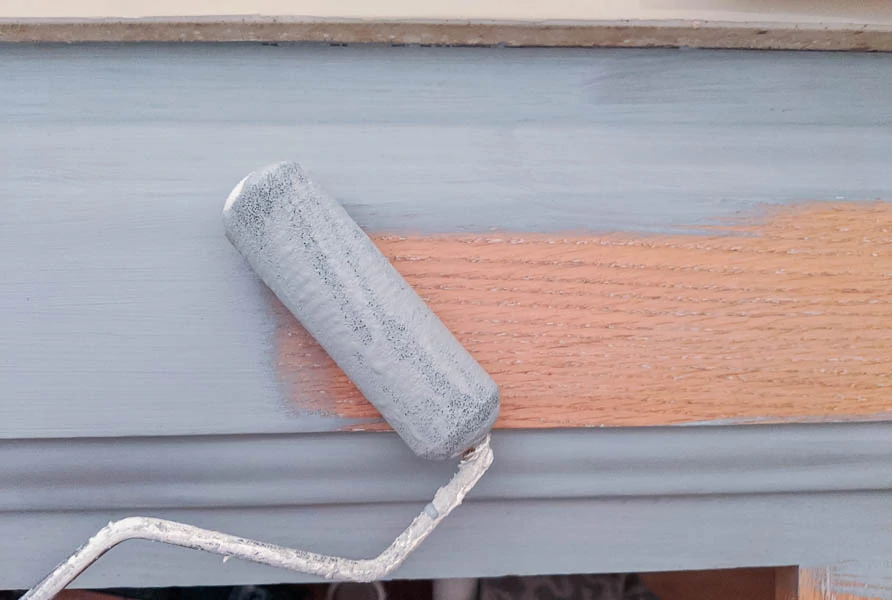
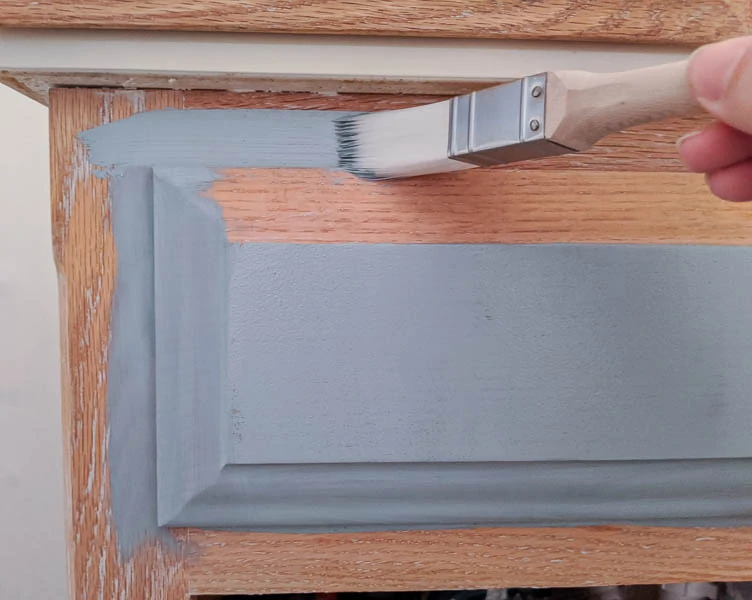
Paint the Vanity
Use a foam roller for flat areas and a brush for corners and edges. Apply two thin coats of paint, allowing proper drying time between coats.
Recommended Paint Finishes:
- Satin or semi-gloss – Ideal for bathrooms due to moisture resistance.
- Cabinet-grade enamel – Durable and easy to clean.
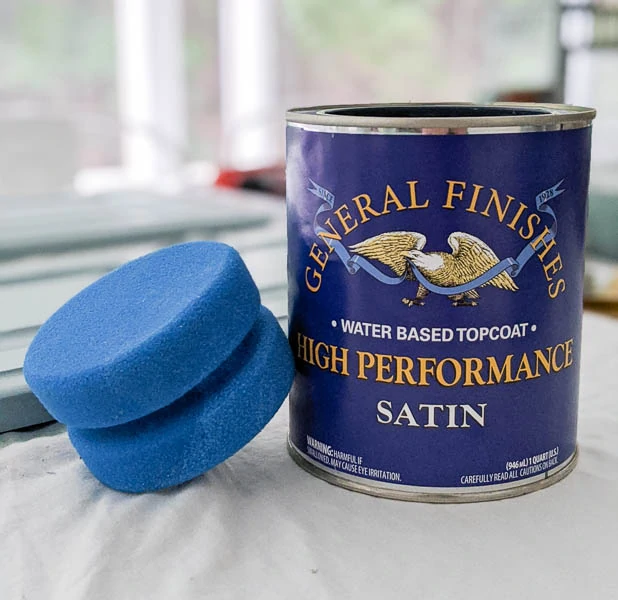
Add a Topcoat (Optional but Recommended)
Seal your painted vanity with a clear, water-based polyurethane topcoat for extra durability.
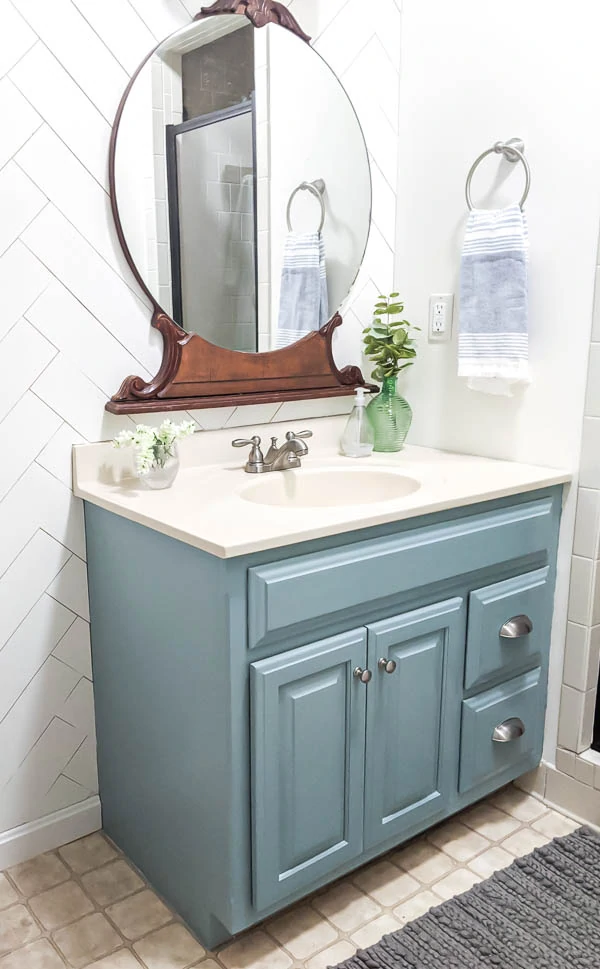
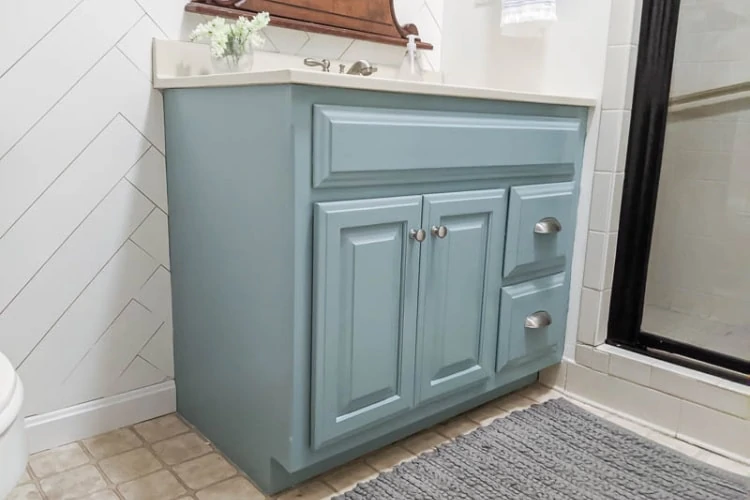
Reassemble and Enjoy
Reattach hardware, doors, and drawers. Consider upgrading knobs or handles for a complete refresh.
FAQs About Painting a Bathroom Vanity
Can I paint a laminate vanity?
Yes, but be sure to sand it well and use a high-adhesion bonding primer.
How long does painted vanity paint last?
With proper prep and sealing, your painted vanity can last 5+ years without chipping or peeling.
Do I need to seal the paint?
Sealing isn’t required but highly recommended in humid bathrooms for added protection.
Final Thoughts
Now that you know how to paint a bathroom vanity, you can give your bathroom a whole new look on a budget. With the right materials and preparation, this simple DIY project can add charm, style, and value to your home.