DIY Backsplash Ever: The Easiest Way to Upgrade Your Kitchen
Updating your kitchen doesn’t have to mean expensive renovations or hiring professionals. With the DIY backsplash ever, you can transform your space quickly, affordably, and with minimal tools or experience. Whether you’re a renter, homeowner, or first-time DIYer, this guide walks you through an effortless backsplash project that adds instant style to your kitchen.
Why a DIY Backsplash Is the Perfect Home Upgrade
A kitchen backsplash does more than protect your walls from splashes and stains—it’s also a design statement. But traditional tile installations can be time-consuming and costly. That’s why easy DIY backsplash ideas are gaining popularity.
Benefits of a DIY Backsplash:
- Low-cost kitchen upgrade
- Quick and easy installation
- Beginner-friendly materials
- Removable options for renters
- Endless design possibilities
Best Materials for an Easy DIY Backsplash
For the easiest DIY backsplash ever, choose materials that are simple to install and require no grout or special tools:
- Peel and Stick Tiles – Available in various designs like subway tile, mosaic, or faux brick.
- Vinyl Wall Decals – Affordable and removable, perfect for renters.
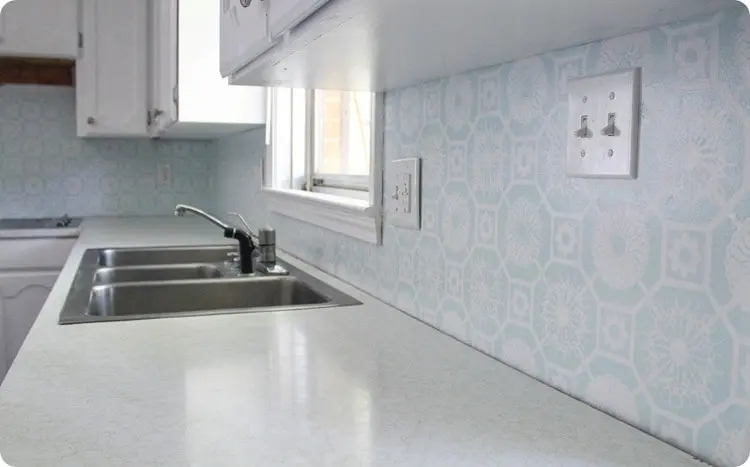
- Wallpaper Backsplash – Adds pattern and texture with zero mess.
- Beadboard or Shiplap Panels – Lightweight and paintable for a farmhouse look.
- Faux Tin Panels – Add vintage charm without heavy metal.
Tools You’ll Need
Minimal tools are needed, especially with peel-and-stick options:
- Measuring tape
- Pencil and level
- Scissors or utility knife
- Cleaning cloth and mild soap
- Straight edge or ruler
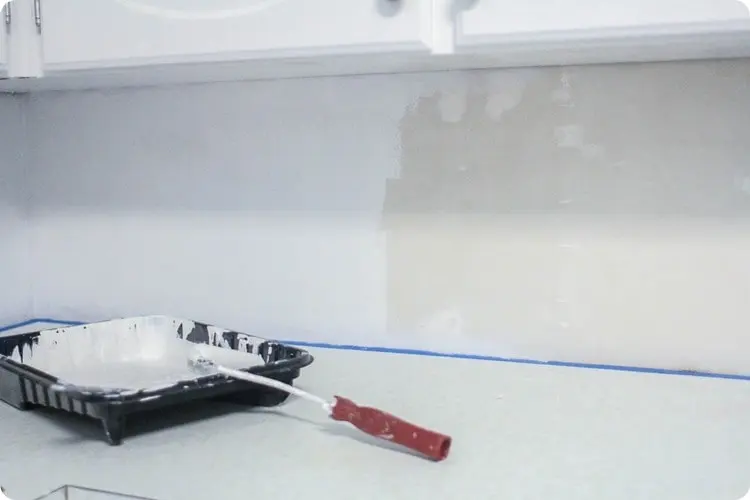
Step-by-Step Guide: How to Install the Easiest DIY Backsplash Ever
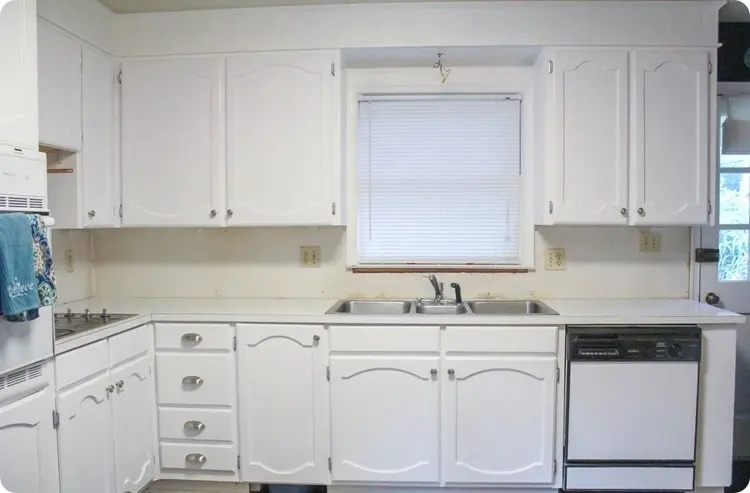
Clean the Surface
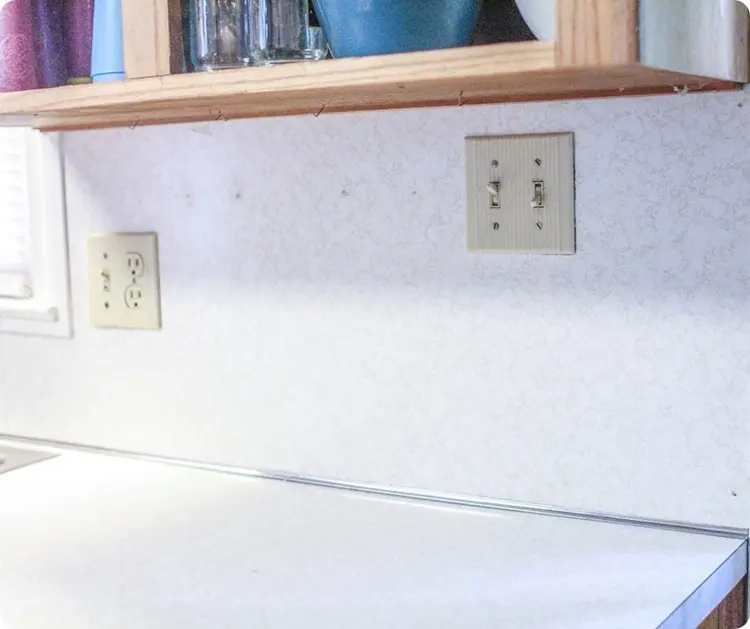
Wipe down the wall with soap and water. Ensure it’s smooth, dry, and grease-free.
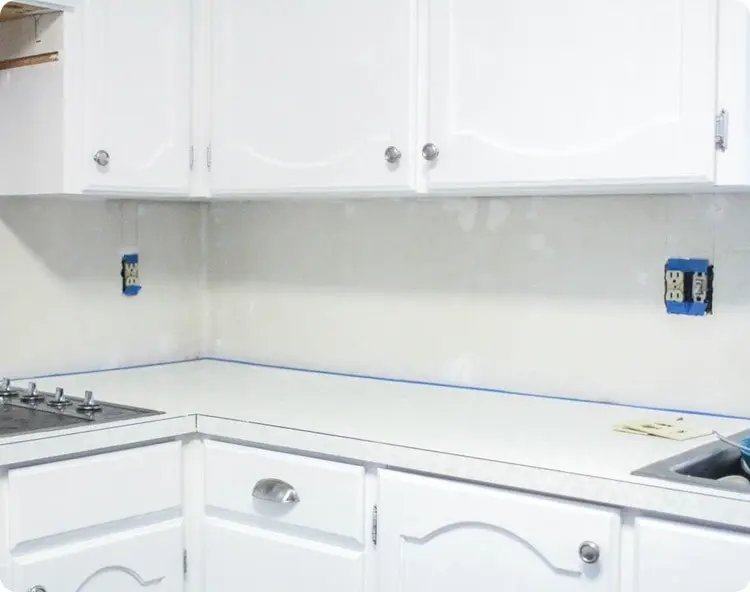
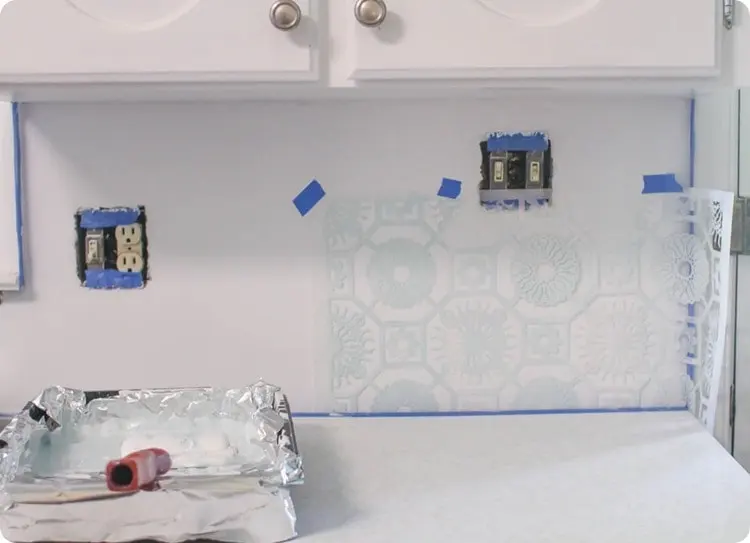
Measure and Plan
Use a level to draw guide lines. Measure the area to calculate how many panels or tiles you’ll need.
Cut the Material
Trim your backsplash material using scissors or a utility knife. Be precise when cutting around outlets or corners.
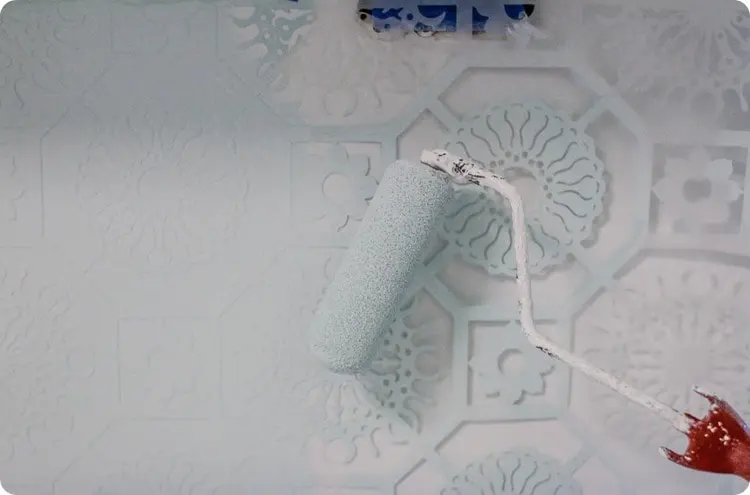
Apply the Backsplash
Start from the bottom center and work outward. Peel off the backing and press tiles firmly into place.
Finish the Edges
For a clean finish, trim the edges or add silicone caulk to seal them (especially near sinks).
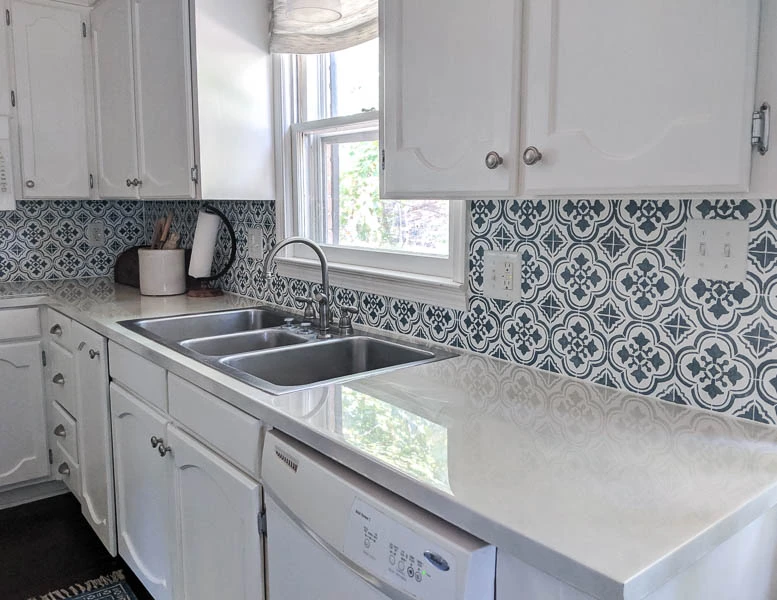
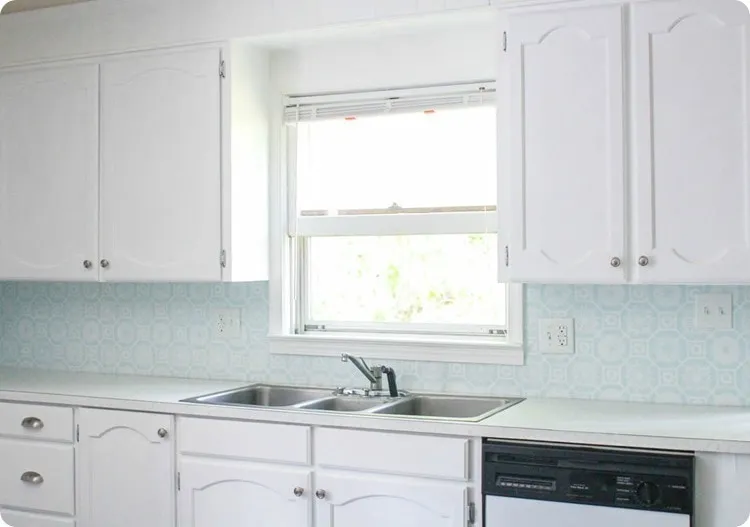
Popular Design Ideas for DIY Backsplashes
Looking for inspiration? Here are trending styles that are easy to DIY:
- White Subway Tile Peel-and-Stick
- Rustic Faux Brick Paneling
- Marble-Look Vinyl Sheets
- Modern Hexagon Stick-On Tiles
- Colorful Geometric Wallpaper

Budget Breakdown
| Material | Average Cost |
| Peel & Stick Tiles | $1–$5 per sq. ft. |
| Vinyl Wallpaper | $20–$40 per roll |
| Faux Panels | $30–$50 each |
| Tools and Accessories | $10–$25 |
Maintenance and Durability
Most peel-and-stick or vinyl backsplash materials are water-resistant and easy to clean with a damp cloth. For areas near a stove or sink, choose heat- and moisture-resistant options. To ensure long-lasting results, follow the manufacturer’s care instructions.
Final Thoughts
When it comes to kitchen upgrades, the DIY backsplash ever is a no-brainer. It’s affordable, stylish, renter-friendly, and incredibly easy to install. Whether you’re after a modern, rustic, or vintage vibe, there’s a simple backsplash solution that fits your space and your budget.