DIY Candle Making: A Professional Guide for Beginners to Craft Custom Candles
DIY candle making is a rewarding craft that combines creativity, sustainability, and functionality. Whether you’re looking to create personalized gifts, enhance your home decor, or start a small business, mastering candle making is easier than you think. This comprehensive guide covers everything you need to know about how to make candles at home
Why Make Your Own Candles?
Homemade candles offer unique benefits:
- Customization: Tailor scents, colors, and designs to your preferences.
- Eco-Friendly: Use sustainable materials like soy wax or beeswax.
- Cost-Effective: Save money compared to store-bought candles.
- Therapeutic: Enjoy the calming process of crafting.
This article will guide you through the DIY candle making process, including materials, steps, tips, and troubleshooting, ensuring you create professional-quality candles every time.
You can also get ideas for Crafting a unique birthday card is a heartfelt way to show someone you care

Essential Materials for DIY Candle Making
To start your homemade DIY candle project, gather these supplies:
- Wax: Soy wax is ideal for beginners due to its clean burn and eco-friendliness. Paraffin wax is a budget-friendly alternative, while beeswax offers a natural glow.
- Wicks: Pre-tabbed wicks with metal bases simplify setup. Choose wick sizes based on your container’s diameter (e.g., CD or ECO wicks for 2–3-inch jars).
- Fragrance Oils: Use candle-safe essential oils or fragrance oils for scents like lavender, vanilla, or sandalwood. Aim for 6–10% fragrance load.
- Dye (optional): Liquid dyes or dye blocks for vibrant colors.
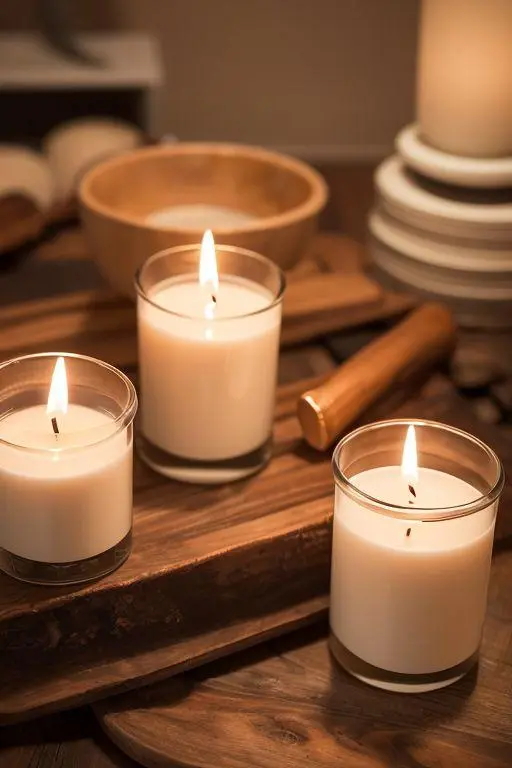
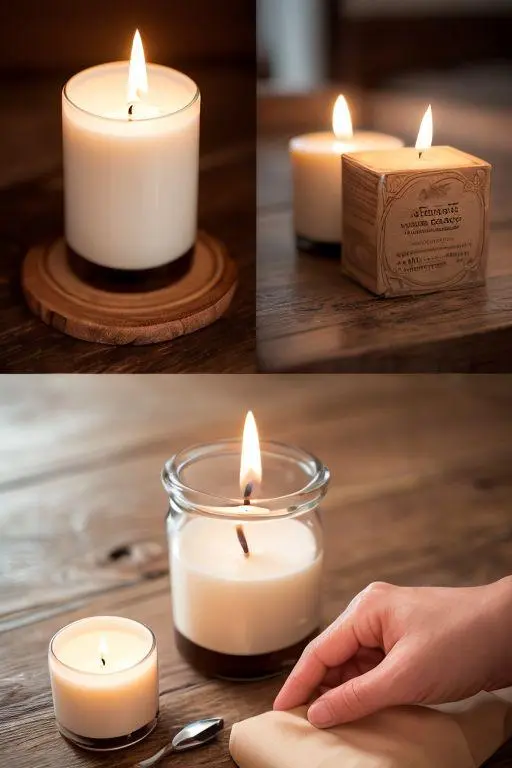
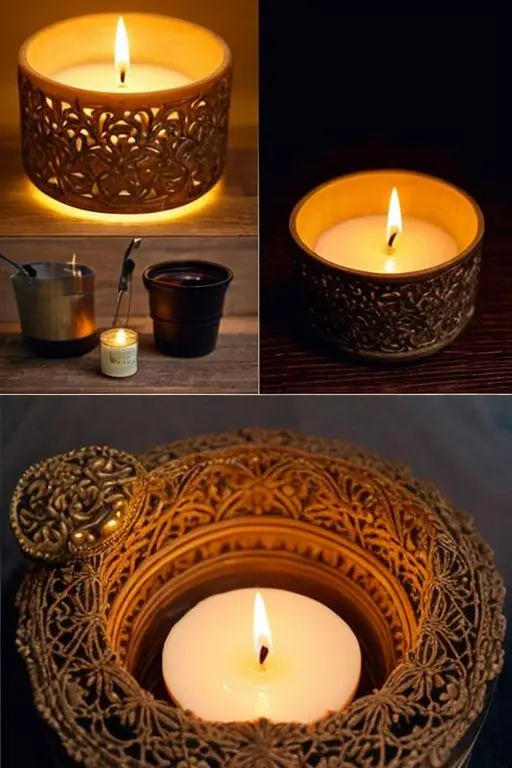
- Containers: Heat-safe glass jars, metal tins, or ceramic vessels (e.g., 8 oz mason jars).
- Double Boiler or Melting Pitcher: For safe wax melting.
- Thermometer: To monitor wax temperature (digital thermometers work best).
- Wick Holders: Chopsticks, pencils, or wick centering tools.
- Scale: For precise wax and fragrance measurements.
- Stirring Tool: Wooden or silicone spatula.
- Safety Gear: Gloves, apron, and a fire-safe workspace.
Step-by-Step Guide to Making Candles at Home
Follow these steps to DIY candle making with professional results.
Step 1: Set Up a Safe Workspace
Safety is critical in diy candle making. Cover your work surface with newspaper or a protective mat. Ensure proper ventilation, especially when using fragrance oils. Keep a fire extinguisher or baking soda nearby for emergencies.
Step 2: Measure and Melt the Wax
- Measure Wax: Use a digital scale to measure wax. A 1:2 ratio works for soy wax (e.g., 8 oz container needs ~16 oz unmelted wax).
- Melt Wax: Use a double boiler or a heat-safe pouring pitcher in a pot of simmering water. Heat soy wax to 185°F (85°C), stirring gently. Avoid overheating to prevent discoloration.
Step 3: Add Fragrance and Color
- Cool the Wax: Let the wax cool to 135–145°F (57–63°C) to preserve fragrance potency.
- Add Fragrance: Add 0.6–1 oz of fragrance oil per pound of wax (6–10% load). Stir for 1–2 minutes for even distribution.
- Add Dye (optional): Use a few drops of liquid dye or a small piece of dye block. Stir until fully blended.
Step 4: Prepare the Container and Wick
- Secure the Wick: Attach the pre-tabbed wick’s metal base to the container’s center using hot glue or a wick sticker.
- Center the Wick: Place a wick holder, chopsticks, or a pencil across the container to keep the wick upright and centered.
Step 5: Pour the Wax
- Check Temperature: Pour at 120–135°F (49–57°C) to avoid sinkholes and ensure a smooth surface.
- Pour Slowly: Fill the container, leaving ½ inch of headspace. Pour steadily to minimize air bubbles.
- Cool and Set: Let the candle cool at room temperature for 24–48 hours. Avoid moving it to prevent uneven surfaces.
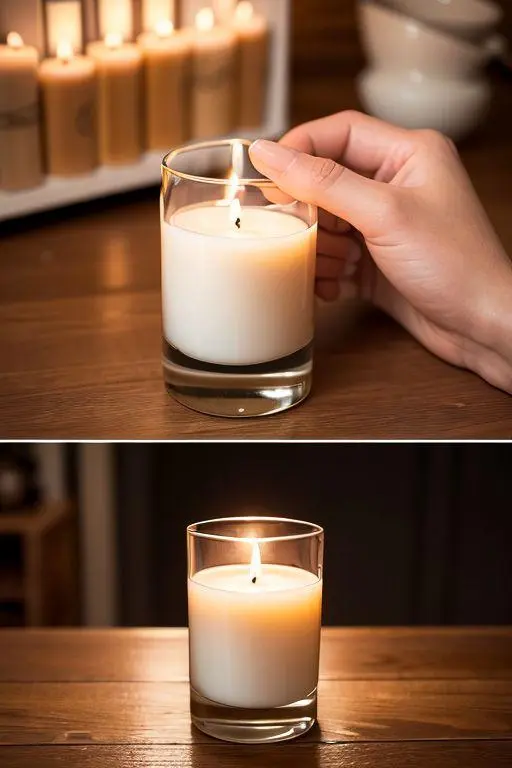
Step 6: Trim and Cure
- Trim the Wick: Cut the wick to ¼ inch for a clean, safe burn.
- Cure the Candle: Allow soy candles to cure for 1–2 weeks to enhance scent throw. Paraffin candles can be used within a few days.
Expert Tips for Perfect Candles
- Test Burn: Light your candle to ensure the wax melts evenly to the edges. If it tunnels, try a larger wick size.
- Blend Scents: Experiment with combinations like lavender-cedar or vanilla-sandalwood for unique aromas.
- Clean Up: Wipe your pitcher with hot water and soap while the wax is warm for easy maintenance.
- Track Your Recipe: Record wax amounts, fragrance ratios, and pour temperatures to replicate successful batches.
Troubleshooting Common Candle Making Issues
- Sinkholes: Caused by rapid cooling. Pour at the correct temperature and avoid cold environments.
- Wet Spots: Air pockets between wax and glass. Warm containers slightly before pouring.
- Weak Scent Throw: Increase fragrance load or extend curing time.
- Frosting (soy wax): A natural occurrence. Minimize by pouring at lower temperatures and cooling slowly.
Safety Guidelines
These are following safety guidlines for diy candle making
- Never leave melting wax unattended.
- Use heat-resistant containers to prevent cracking.
- Keep burning candles away from flammable materials.
- Work in a well-ventilated area when using fragrances.
Conclusion
DIY candle making is an accessible, fun, and creative way to craft custom candles for your home or gifting. By following this guide, you’ll produce professional-quality candles while mastering diy candle making techniques like a pro. Start small, experiment with scents and designs, and enjoy the glow of your handmade creations!